Hiya Everyone!
Welcome back to the Flutter By Wednesday Challenge. Hopefully you made it over here from Michelle's blog, but if not, head on over to the Flutter By Wednesday Challenge blog to hop along from the beginning. Believe me, you don't want to miss anything!
First, I want to say how truly thrilled I am to be a member of this team. A *huge* thank you to Danni for choosing me to be a part of it.
To get things started, I wanted to take the opportunity to make a card for all of our friends that will be playing along with us. So, to all of our fluttery friends, WELCOME! This one's for you!
The card base and white cutout are Papertrey Ink's Stampers Select White Cardstock. All of the pattern papers are from DCWV's Butterflies and Blossoms paper pack.
I used Some Odd Girl's Rainbow Fairy; I colored her using Copics:
Hair: Y28, Y26, Y18, Y15, Y11
Skin: E11, E00, E41, R83
Dress/Flower: R86, R83, R81, G05, G02, G00
Eyes: B02, B00
Rainbow: V17, V15, YR07, YR06, B14, B12
Wings: BV01, BV00 and ICICLE STICKLES!
Who loves Stickles? *points at myself* This girl!
The sentiment is from Unity Stamp Co's Art and Possibility set, and it is the most important part of this card. "Why", you ask? Because art isn't about being the best. It's about having fun!
Now, don't get out your butterflies and fairies just yet. Head on over to Jenée's blog to see what she has in store for you!
Once you've had a chance to hop, get out the crafty stuffs and play long. I can't wait to see what you create!
Thanks for stopping by!
~{Puffy Hearts}~
Wednesday, August 15, 2012
Friday, August 10, 2012
Happy Birthday Lillybean! ...Again!
This time last year, I posted a Happy Birthday, Lillybean card. I can't believe that Lillian's birthday is here again. Time goes so fast!
My dear friends, Jay and Rachel, and the most adorable little girl. She turned three a few days ago and her party is tomorrow. Much like me, Rachel has a tendency to rock the alternative side. I took the opportunity to use one of my favorite Tiddly Inks digis. I don't get to use this stamp near as often as I would like!
Using Tiddly Ink's Pinkie, I'm here to say HAPPY BIRTHDAY LILLIAN!
The card base and white frame are, as always, Papertrey Ink. The pattern papers are Signify Pink.
I colored her using Copics:
Hair: RV10, RV 13, C5, C7, C9, and C10
Skin: E11, E00, and E41
Dress: Y06, W6, W4, W2, and W1
Cake: RV14, RV13, C10, N4, N2, N1
The '3' is a chipboard cutout that I stained pink using Tim Holtz' Worn Lipstick distressing ink. The butterfly is Flora Doodles.
Seriously! So excited to color this stamp! I love Pinkie!
Thanks for looking!
~{Puffy Hearts}~
Flutter By Wednesday is BACK!
I'm so excited to announce that the Flutter By Wednesday Challenge is back! I'm honored to be selected as a member of Danni's amazing design team.
Hop on over to the Flutter By Wednesday Challenge Blog to meet the rest of the team. Our first challenge is Wednesday, August 15. Get out your butterflies and faeries and come play with us!
~{Puffy Heart}~
Hop on over to the Flutter By Wednesday Challenge Blog to meet the rest of the team. Our first challenge is Wednesday, August 15. Get out your butterflies and faeries and come play with us!
~{Puffy Heart}~
Wednesday, August 1, 2012
Rizzobear is off to school!
I cannot believe my little Rizzobear is going to be four years old on August 30th. Where did these four years go?! Along with the excitement of her "Princess Hello Kitty My Little Pony Rapunzel" Birthday Party that I have the pleasure of planning (this is the last year that she gets to pick the theme!), she's super excited about starting big girl preschool on August 21st.
I really love the school district we're in. Her preschool teacher asked to for an in-home meet and greet, where she got to meet Rizzo and overload me with paperwork. #1 on the list is that she needs a folder. The left side is for transporting important papers home, and the right side is for returning things to school. I was going to go to the store and pick her up a generic Hello Kitty folder, but I couldn't dare send her off to school with a boring ol' Hello Kitty folder.
I decided to do this instead:
She needed something personalized. I've cursed her, really...never will she walk into a souvenir shop and find a mug or key chain sporting her name. So, I dusted off the Cricut and made some letters.
Then I made her "home" and "school" sides. For the "home" side, I used Some Odd Girl's Little Love Tia.
For the "school" side, I used Some Odd Girl's Teacher's Pet Tia.
After I got everything laid out, I put a layer of Mod Podge over the inside and out, to ensure nothing gets ripped.
Hopefully, she loves it! My luck, she'll ask for a Hello Kitty folder. =o D
Thanks for looking!
Wednesday, July 25, 2012
A Tiddly SFYTT
Just a quick post. I realized I hadn't yet done the July SFYTT. What?! Yea...I know.
Luckily, I had a Tiddly Inks image that I needed to color.
Say hello to Tiddly Ink's Sweet Dreams Wryn:
I colored her up using Copics. The pattern papers are Karen Foster Designs. The card base is Papertrey Ink Stamper's Select cardstock. The sentiment and moon are stamped on SU! Confetti paper. I sponged the
moon using Memento London Fog and added a few splats in the same color. The sentiment is from Unity Stamp Co's April SMAK kit.
I really adore Wryn!
Thanks for looking!
Saturday, July 21, 2012
Stamp-A-Faire: Tie-Dye Challenge!
Today was Papertrey Ink's first online only Stamp-A-Faire. You can follow all of the activity on Nicole Heady's blog.
Next was the Tie-Die challenge!
I used the shaving cream technique!
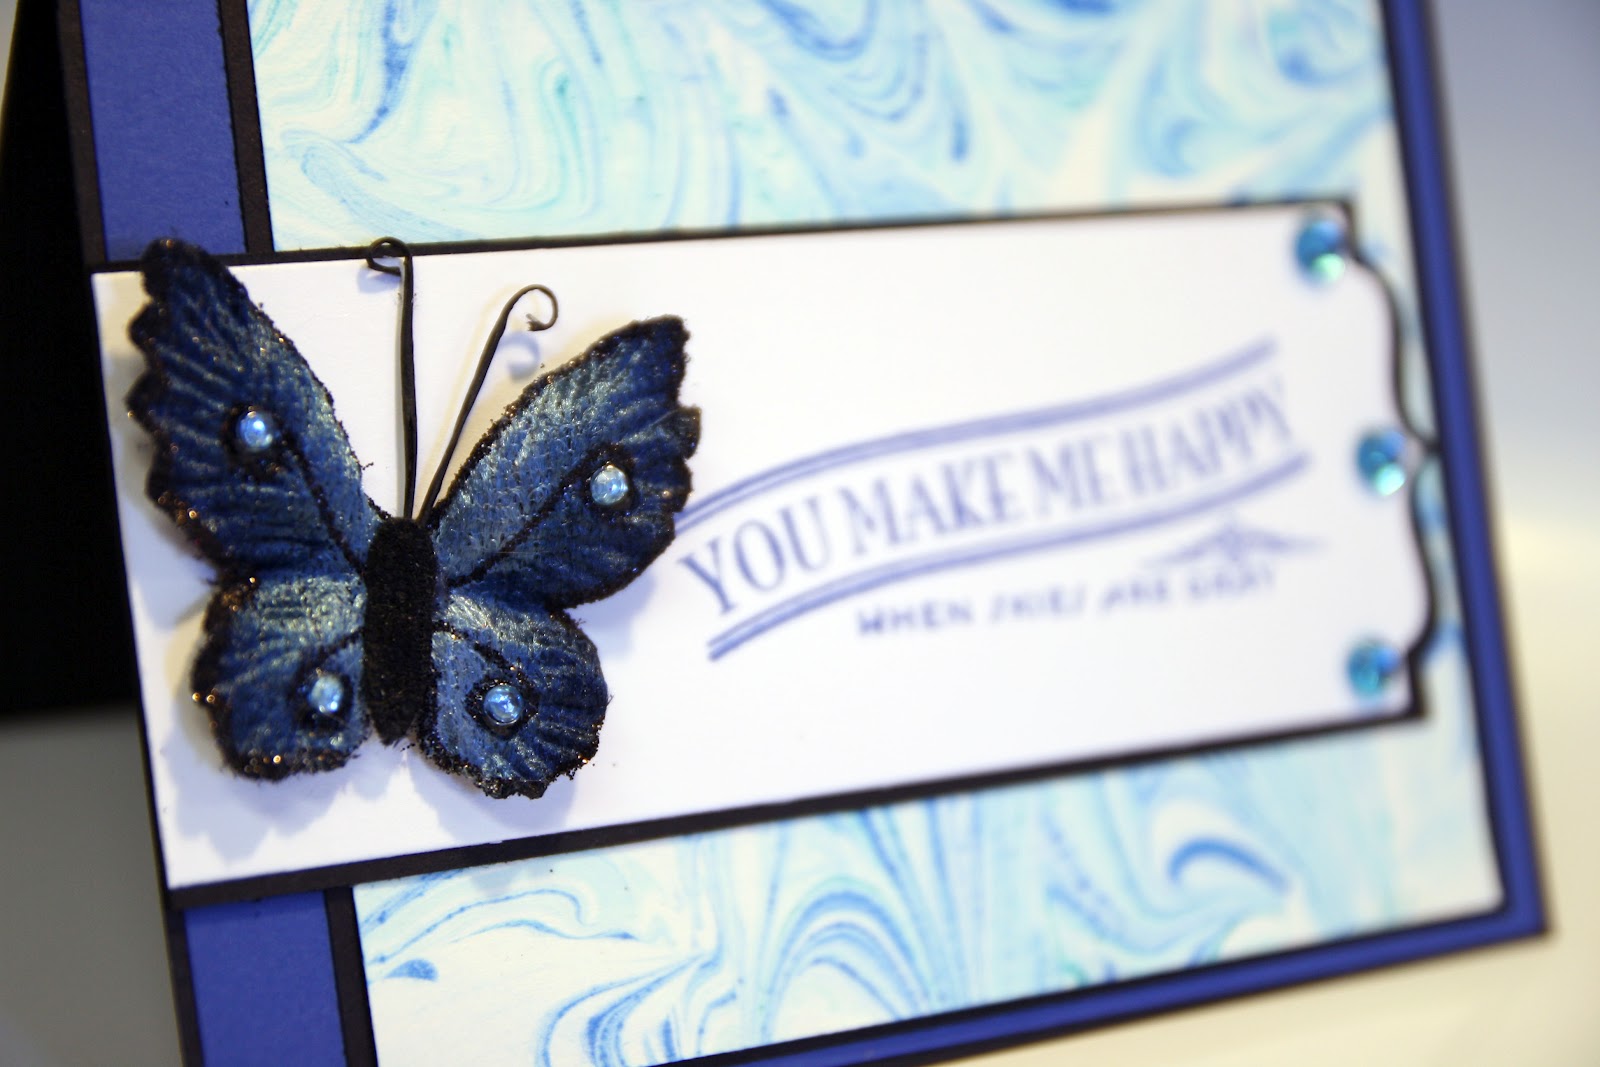
Here is my card:
This was the second card I made. I didn't like the first one, but I was super excited about how this one turned out! The solid papers are Papertrey Ink's True Black/Stamper Select White and SU!'s Brilliant Blue. I used Adirondack's Stream and Sailboat alcohol inks in the shaving cream. The tie-die paper base is actually water color paper. I was curious to see the difference. I will use watercolor paper for this technique in the future.
The butterfly is Recollections embellishment.
The Sentiment is from Papertrey Ink's We Go Together Stamp Set. The rhinestones are just random Michael's stones. I don't have the tag anymore, but I assume they're Recollections.
Thanks for looking!
Monday, July 2, 2012
to be all that is possible... [Stamp Camp Tag]
This month marks MAL and I's first stamp camp. I knew when I set it up that for our first class I wanted to teach water embossing. This, along with the Some Odd Dandelion Fairy card we're going to make, may mean technique overload for our addicts in training, but I figured we'd do it anyway! If it's too much, I'll simplify for next month. =o D
That said, here's the "card" (...and by "card", I mean "tag") that we're going to make:
This card will focus on learning water embossing, distressing, and DIY 3D embellishments. The Tim Holtz feel is obvious, considered this tag is bleeding Ranger/Tim Holtz products. I'm a fan girl, what can I say? The sentiment is Tim Holtz.
I distressed the tag with the Ink Blending Tool using Tim Holtz new Summer line of Distressing Inks [Mowed Lawn, Picked Raspberry, and Salty Ocean]. The water embossed images (which get lost on a tag like this, because they're primarily used to add pattern) are a mix of Papertrey Ink's Beautiful Butterflies and Unity Stamp Co's Growing in Unity. Then I stamped the Tim Holtz Flower Flourish in Papertrey Ink's Fresh Snow to add a limit more pop to the color on the card.
The flourish is cut out of regular ol' Recollections black (My Cricut doesn't like cutting through the fabulous thickness that is Papertrey Ink's True Black Cardstock [Card base...by the way]) using the Cricut Picturesque Cartridge. The butterfly was made using Papertrey Ink's Beautiful Butterfly die. I cut the butterfly out three times. I colored each one by sponge distressing Spiced Marmalade and Fire Brick Distressing Inks. Then I stamped the image from the Beautiful Butterfly set on each. I layered and adhered the three together and topped with black rhinestones. (You're going to be seeing black rhinestones a lot lately. I have a few hundred of them leftover from my Snowpeople Invitations) =o )
After adhering the butterfly together, bend the wings up a bit to give it dimension (a trick taught to me by MAL).
...and there you have it!
Thanks for looking!
Subscribe to:
Posts (Atom)